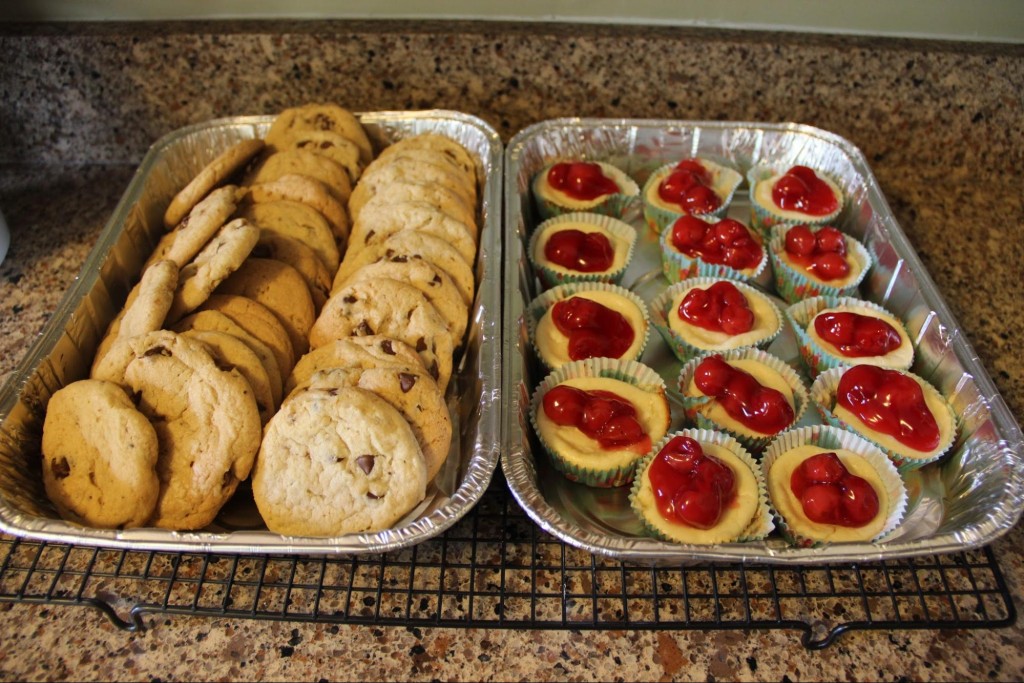
Baking with Kids: Chocolate Chip Cookies and Mini Cheesecakes
By Sara Alexander
The end of the school year is fast approaching which means that our calendars are filling up quickly! Even with the help of reminders, an event can sneak up on me and put me into crazy Mama mode. Teacher Appreciation week is doing just that.
The “Ah-Ha” moment came to me at school drop off when I saw the well-prepared Mamas with arms full of gift bags and diet soda cases walking into school. After a quick trip the grocery store for ingredients and gift cards, I put my little 5 year old to work on sweets to take to school the next day! I know his teachers will “ooh and ahh” over the fact that my boy made this all by himself!
I think he did really great!
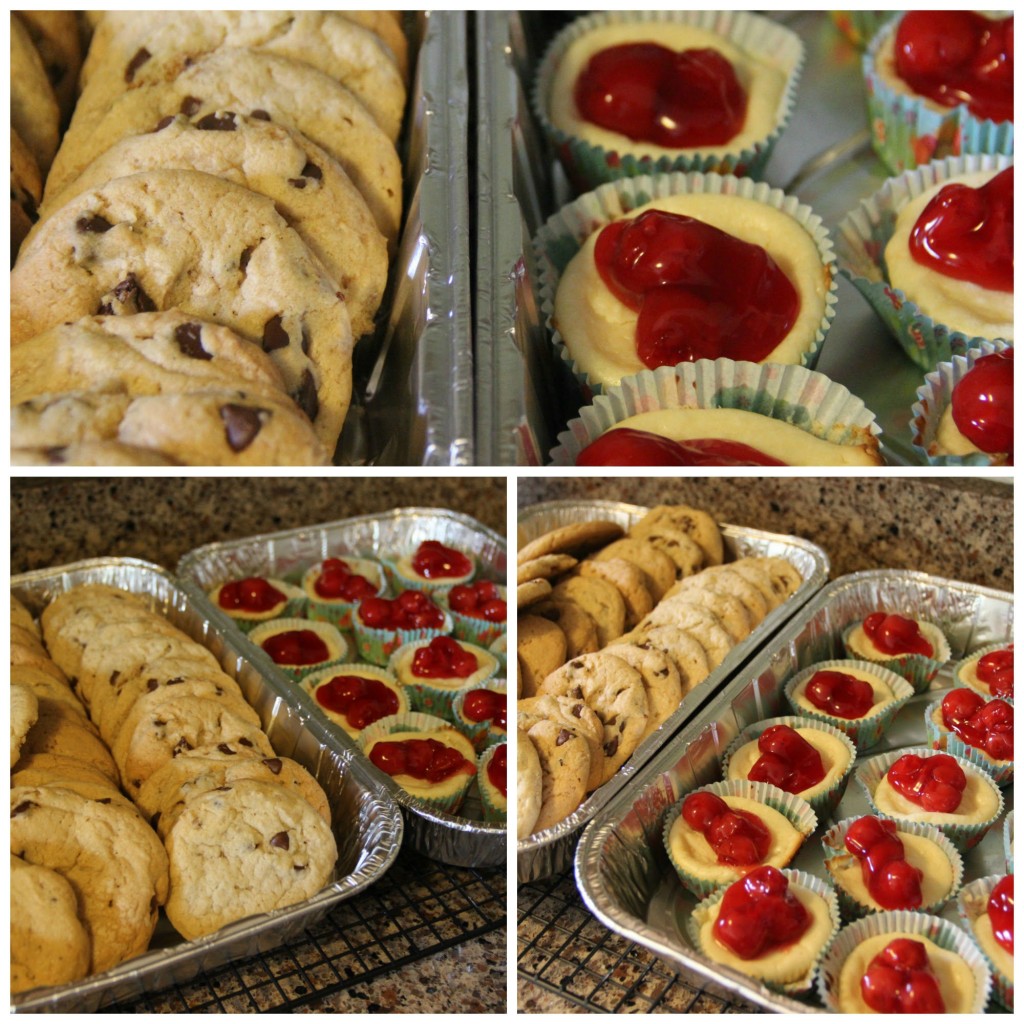
Chocolate Chip Cookies
We made 24 large cookies with this recipe using an ice cream scoop.
- 1 c. Crisco, butter flavored
- ¾ c. brown sugar
- ¾ c. white sugar
- 2 beaten eggs
- 2 T. hot water
- 1 t. vanilla
- 2 ¾ c. flour
- ½ t. Salt
- 1 t. Baking soda
- 2 c. semi-sweet chocolate chips
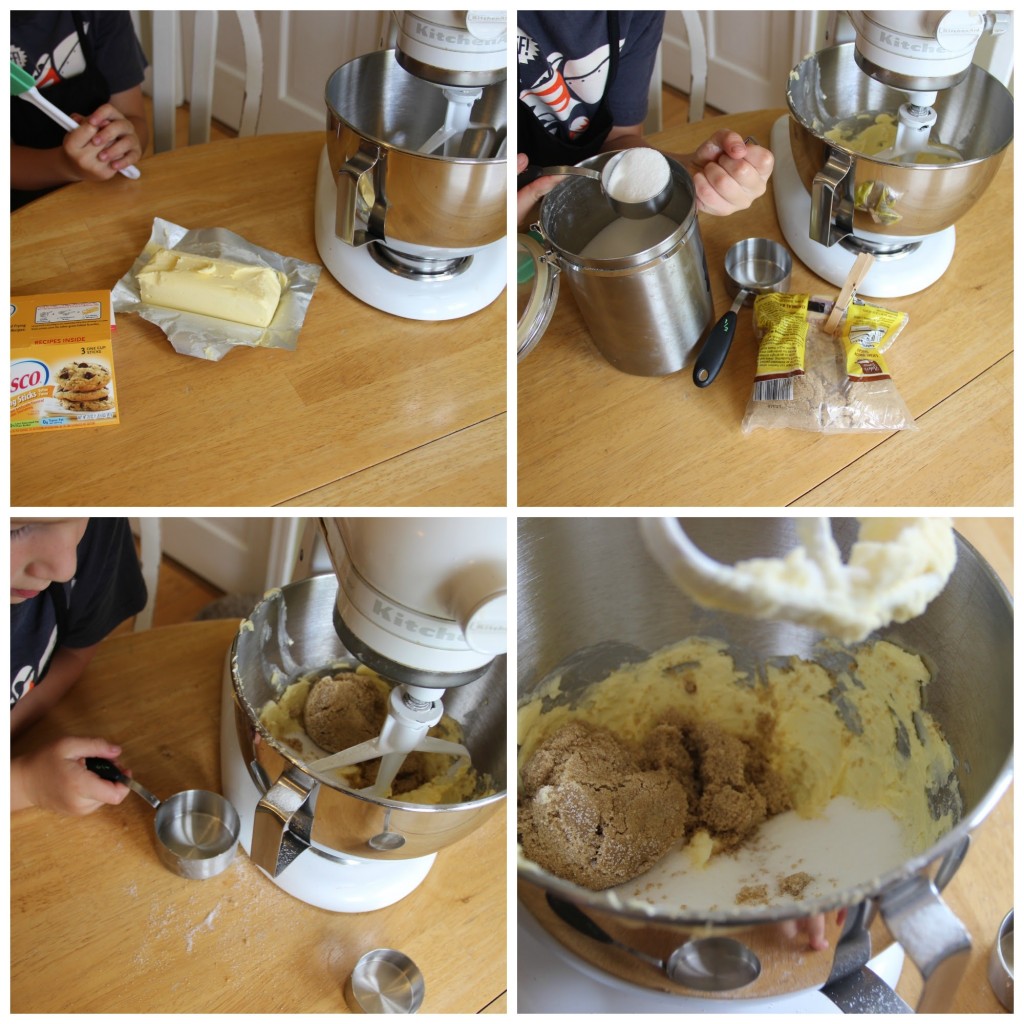
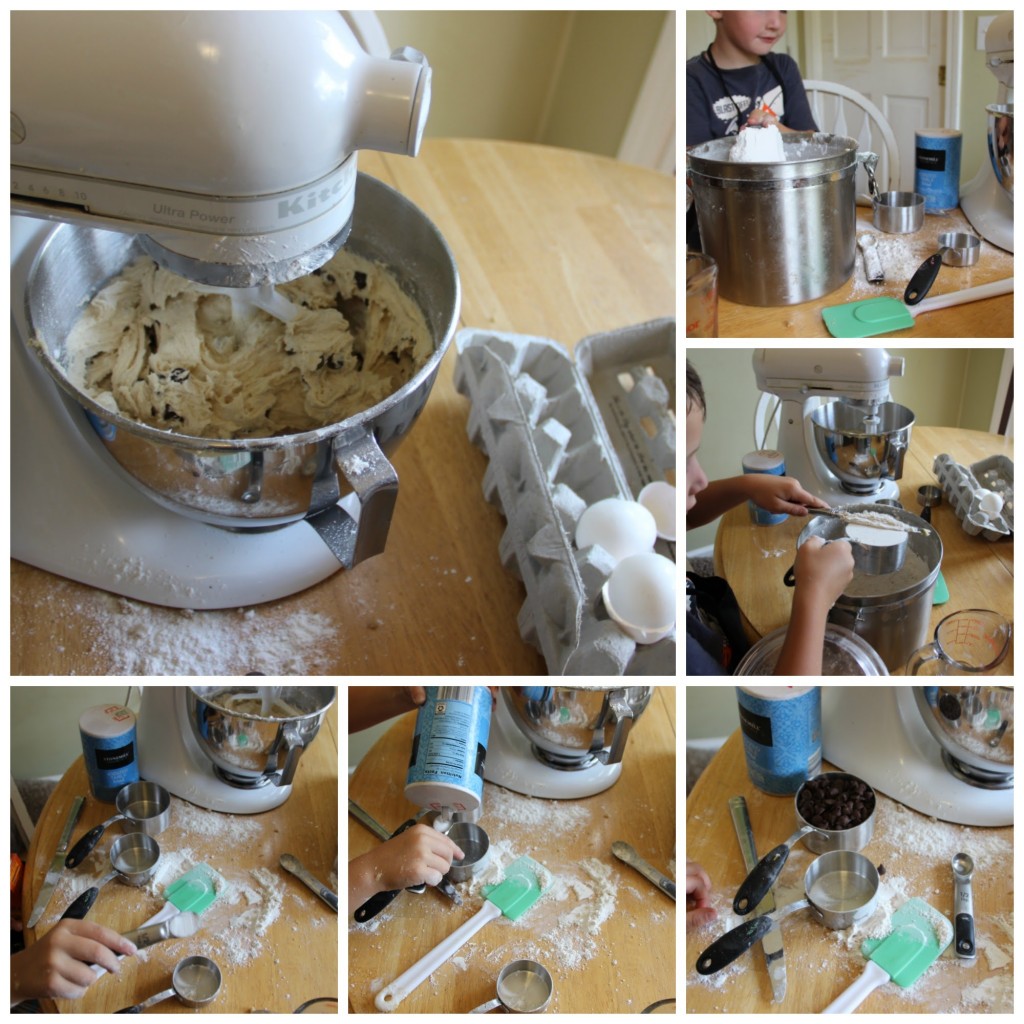
Preheat oven to 350 degrees F. Always begin by washing hands. From playground dirt, to markers and snack debris, hands come home extremely dirty from school. Now, add the Crisco to the mixer fitted with the paddle attachment. Turn on low speed. Add in the white sugar and brown sugar. Mix on low to medium speed until combined. Remind your child to not lick his finger and use it as a broom to sweep up the fallen sugar off the counter. Wash hands again.
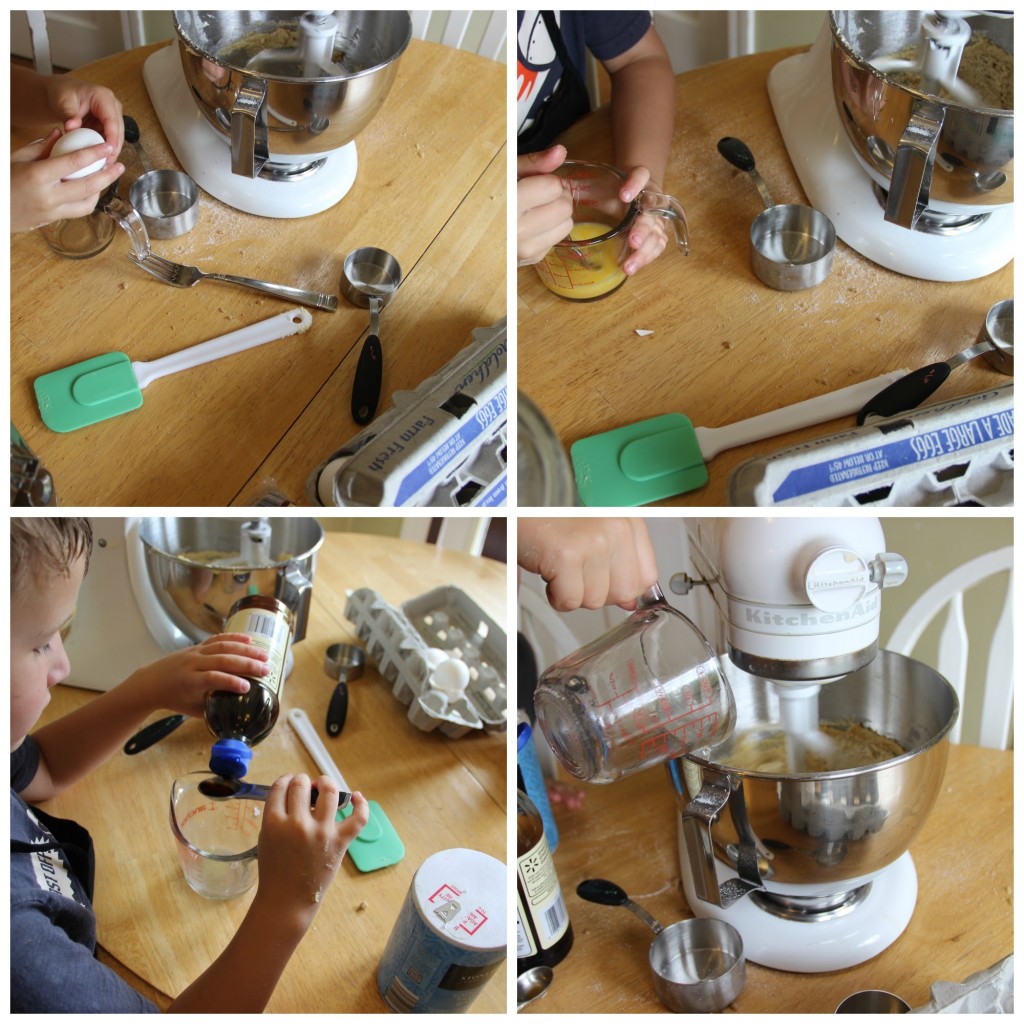
Next, add the eggs and vanilla, remembering to beat the eggs first. I like for my little guy to crack the eggs into a measuring cup and add them one at a time to the mixer. It’s much easier to remove broken egg shells before they are mixed into a gooey cookie batter. Measuring vanilla can be tricky, so we like to do it over a measuring cup to catch the falling liquid.
Here’s comes the messy part. Add the flour, baking soda and salt to the mixing bowl. The knife sliding method works well to flatten heaping cupfuls of flour. Remember to keep the mixer off while adding the dry ingredients. Once you add the dry ingredients, turn it onto the medium speed and mix until everything is incorporated. Finally stir in 2 cups of chocolate chips. “Taste-testing” is bound to happen, so I just remind my little guy to wash his hands. Again.
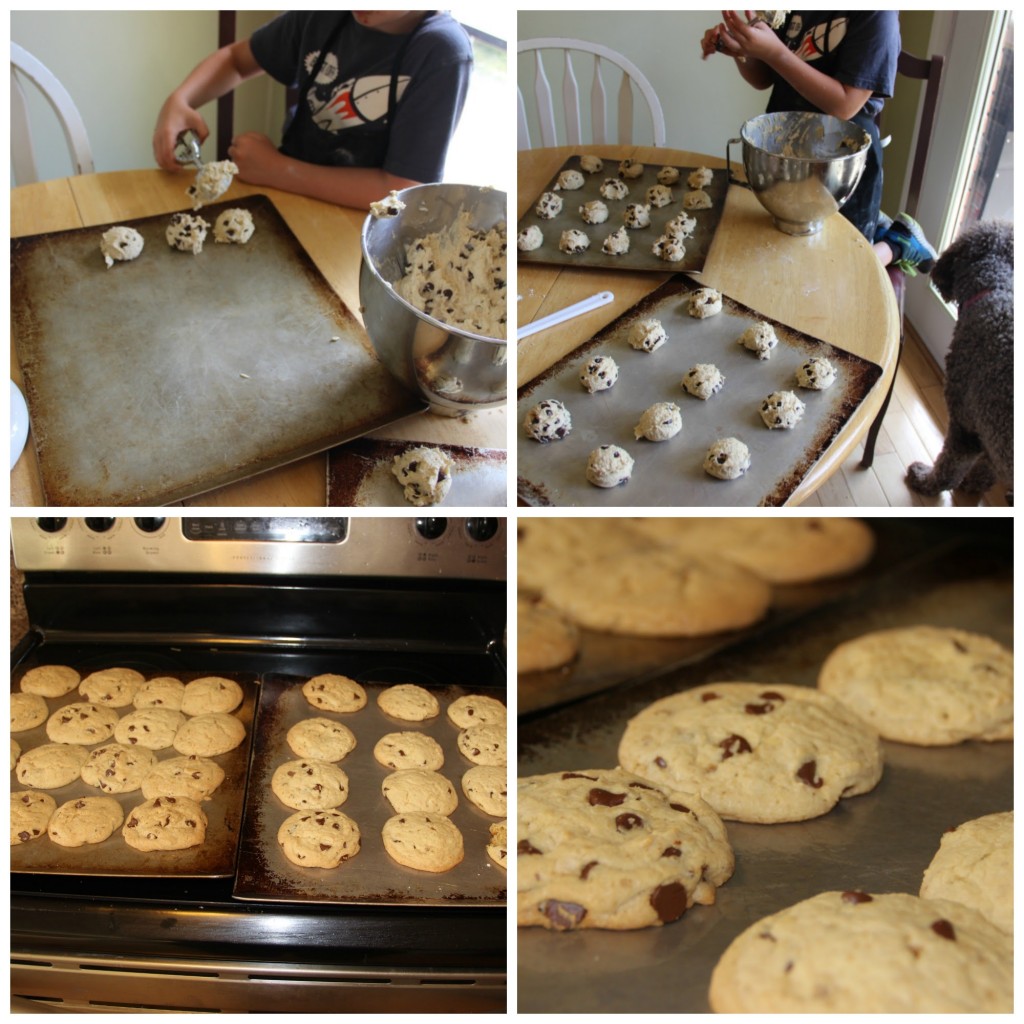
Coat 2 cookie pans with non-stick spray. Use an ice cream scoop to scoop out the batter and create large cookies. Your help will probably be needed with correct placement. Unless of course, you want to bake 1 giant, misshapen cookie. For large cookies, bake 15-18 minutes until the top is no longer glossy. Smaller cookies will take 10-12 minutes. Cool on the pans for 2 minutes then remove to a wired rack to cool completely. Store in an airtight container or create an impressive looking cookie platter with a simple disposable cake pan from the store.
The baking fun continues with a favorite recipe of mine! Super easy and absolutely yummy mini cheesecakes with cherry pie filling on top!
Mini Cheesecakes with Cherry Pie Filling
- 1 (12oz) package of vanilla wafers
- 2 (8oz) packages of cream cheese, softened
- ¾ c. white sugar
- 2 eggs
- 1 t. Vanilla
- 1 (21 oz) can cherry pie filling
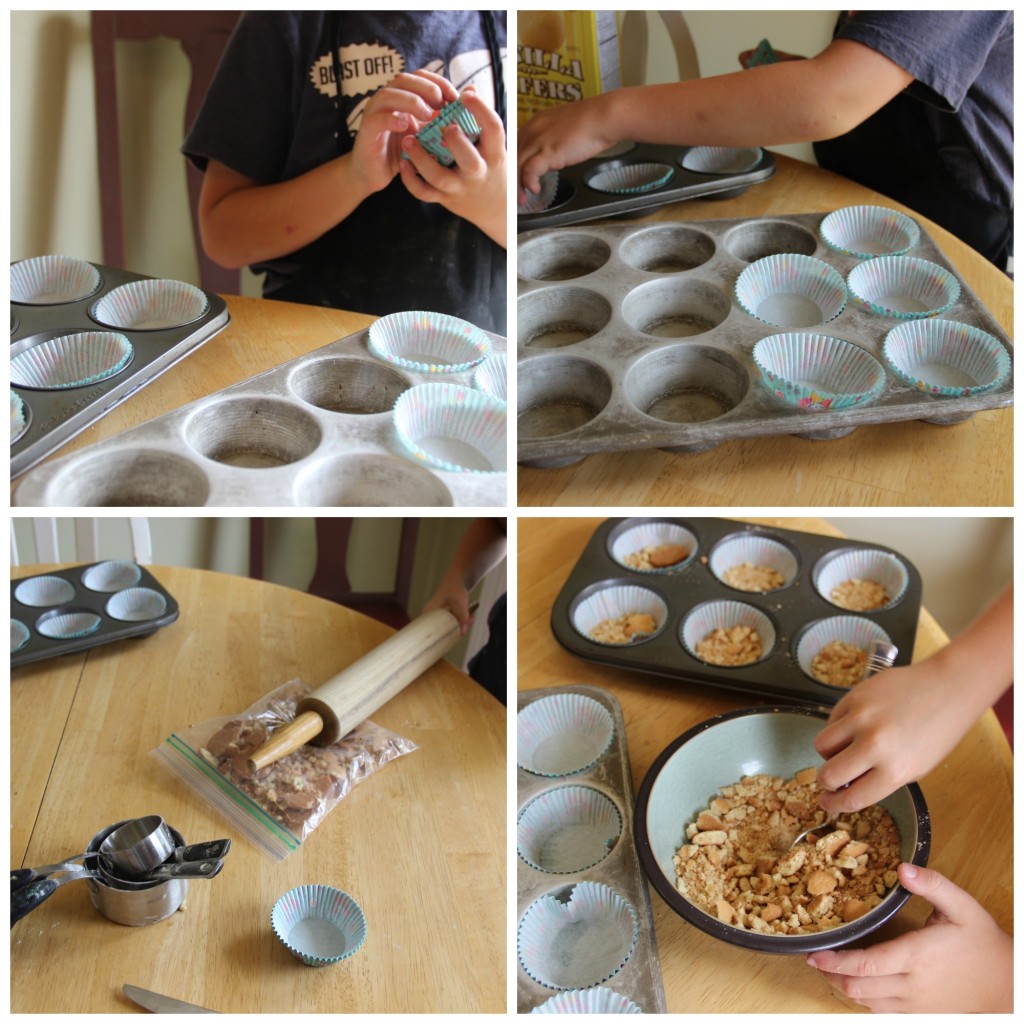
Preheat the oven to 350 degrees F. Have your child line the muffin tins with cupcake liners. I found some adorable “spring” themed ones at the Dollar Store, but any type will do just fine! Next, using either a food processor or a ziplock bag and rolling pin, crush the vanilla wafers. I personally enjoy the bag/pin method the most; and so does my 5 year old. Use clean hands or a spoon to spread the crushed wafers to cover the bottom of each liner.
Next, add the cream cheese to the mixer fitted with the whisk attachment. Add the sugar, eggs and vanilla next. (Refer to previous recipe for tips on cracking eggs and measuring vanilla with kids.) Turn the mixer onto medium speed and mix until it is light and fluffy. It is important to let the blocks of cream cheese come to room temperature before you use them. We were in a rush and ended up with lumpy batter from not letting the cream cheese completely get to room temperature. It did not affect the overall taste of the cheesecakes, but I would have prefered them to be a bit more fluffy. My child had no complaints.
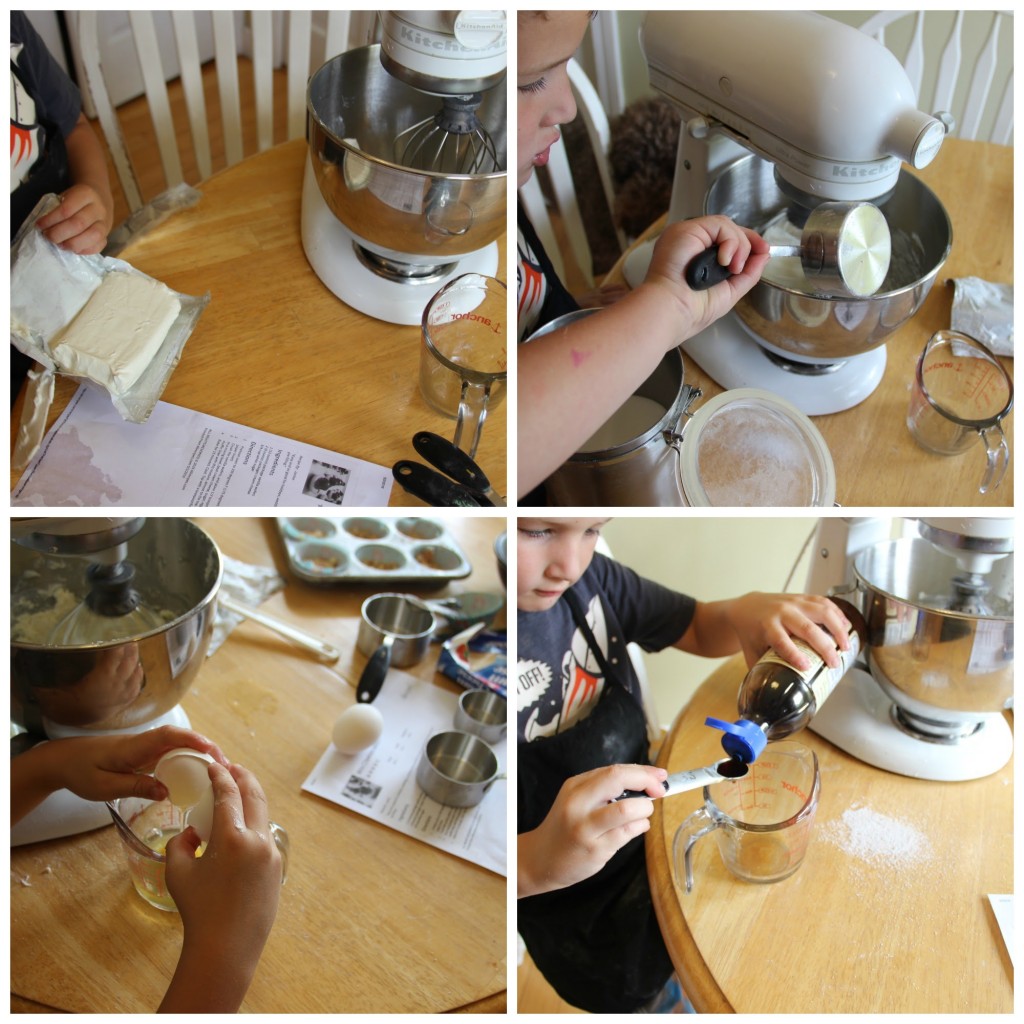
If your cream cheese gets stuck inside the whisk, have your child use a small, flat spatula to remove it. Watch out for devious pets who like to sample cream cheese while your back is turned!
After the mixture comes together, use a large spoon or an ice cream scoop to fill each muffin liner almost to the top. This part can be tricky for kids. There will be quite a few drips and drops of batter that fall onto the pans and counter, so have paper towels handy before little fingers and tongues do the cleanup job themselves.
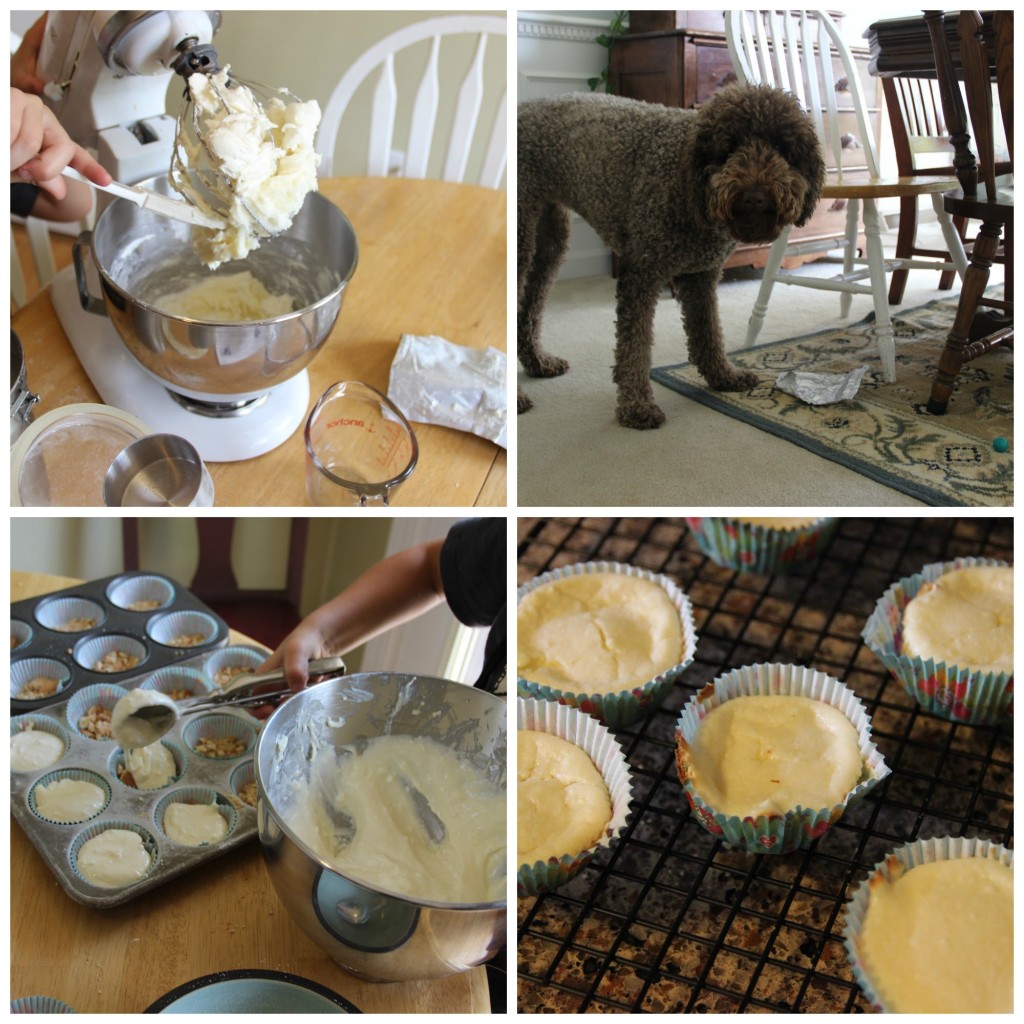
Bake the cheesecakes on 350 degrees F for 15-18 minutes. Remove from the pan to cool completely. Top with a dollop of cherry pie filling. Assemble the mini cheesecakes into a disposable tray and cover with plastic wrap. Remember to keep them in the refrigerator.
